

How To Repair Rock Hole In Vinyl Siding
Vinyl siding is congenital to stand up the exam of fourth dimension. However, just like any product that is constantly exposed to harsh elements, vinyl tin can get damaged over time, causing the panels to not simply lose their sparkle but likewise allow h2o into the interior wall, putting your unabridged habitation at risk of wet-related problems.
Fortunately, repairing vinyl siding is an easy process. In fact, some damages can be fixed with something as elementary every bit caulk. Stay tuned to learn how to repair vinyl siding then your panels can serve you ameliorate, longer.
Materials Needed to Repair Vinyl Siding
The tools and materials listed below can be used to perform both pocket-sized and major repairs on your vinyl siding (including replacing the entire panel).
- Caulk and caulk gun: Become caulk designed for vinyl. Also, consider a color that matches that of your siding. If yous can't find caulk that matches your vinyl, get one that can be painted.
- Soap: Use vinyl-friendly cleaners like dishwashing liquid or whatever other mild detergent.
- Water: This should be make clean, cold water.
- A piece of cloth: Use a clean, dry rag or tissue paper.
- Utility knife: Become a sharp utility knife or razor blade.
- Paintbrush: Use one with soft beard to avoid scratching the vinyl.
- Measuring tape: You lot volition need this to take measurements as required.
- Siding removal tool: You can find this at your local hardware store or home center. Some stores may characterization it a zip tool.
- Spare vinyl siding panel: This must be the aforementioned colour as the old siding.
- A pair of tin snips: Apply these to quickly cut a slice of the vinyl panel.
- Pencil: You will demand this to put marks on the vinyl.
- Duct tape: This will be used to hold the new patch firmly in place.
- Prybar/screwdriver: Employ these to remove nails and other fasteners holding the vinyl panel in place.
- Nails/screws: These will exist required to hold the new vinyl console in place.
Filling Vinyl Siding Holes With Caulk
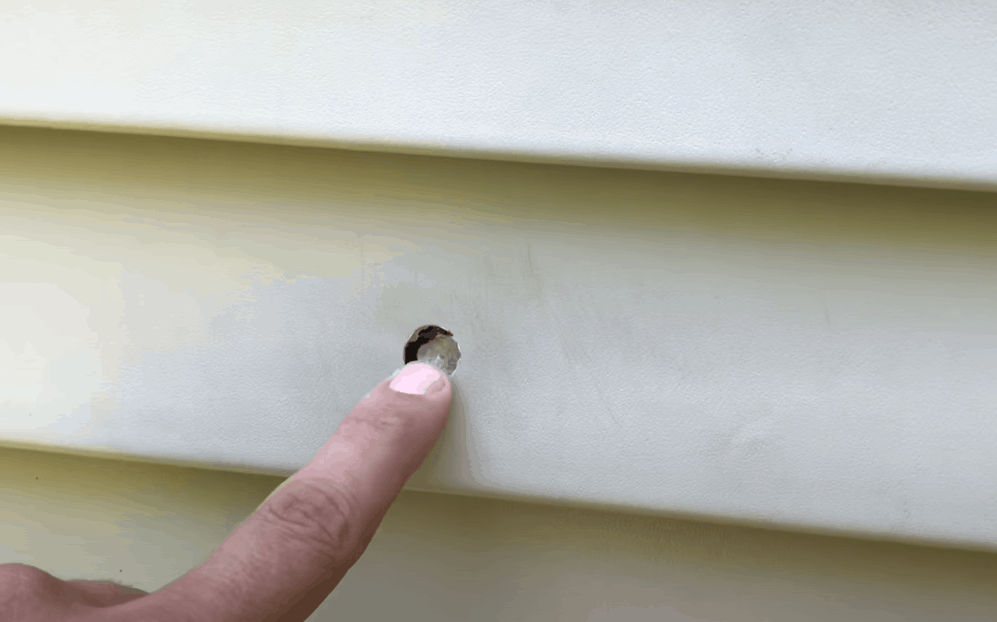
Holes on your vinyl siding can be caused by hailstones or rocks flung by a lawnmower and other gardening equipment. If they are not too big, you can easily fix them with a caulking compound.
Step i: Clean the Damaged Area
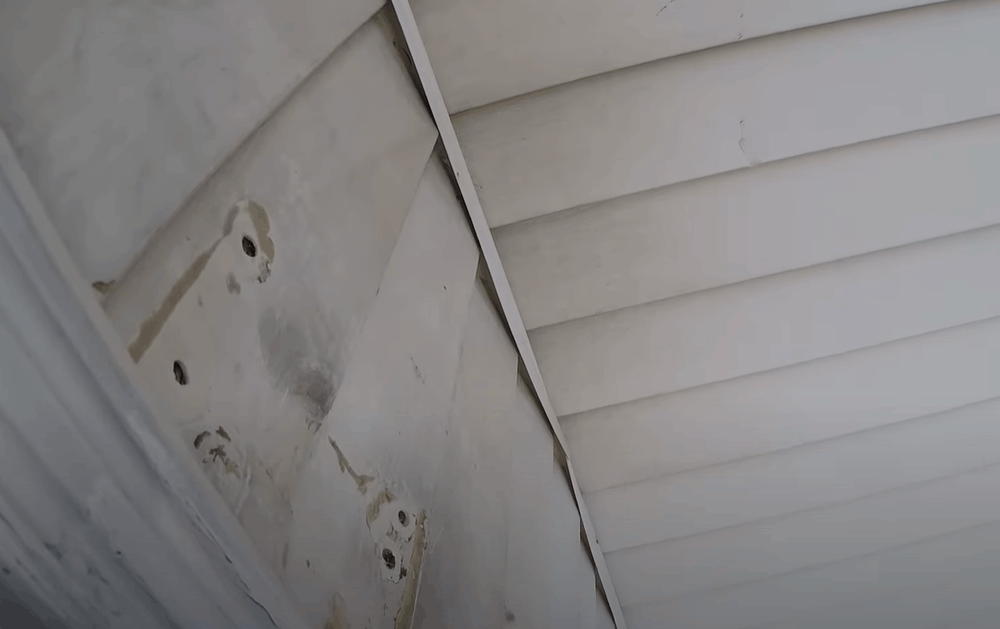
The first thing yous demand to do is remove dirt from the dented area. Dip a clean cloth in a solution of mild dishwashing liquid and water and gently rub the spot. And so rinse with clean h2o and allow it completely dry.
Pace 2: Fill the Hole With Caulk
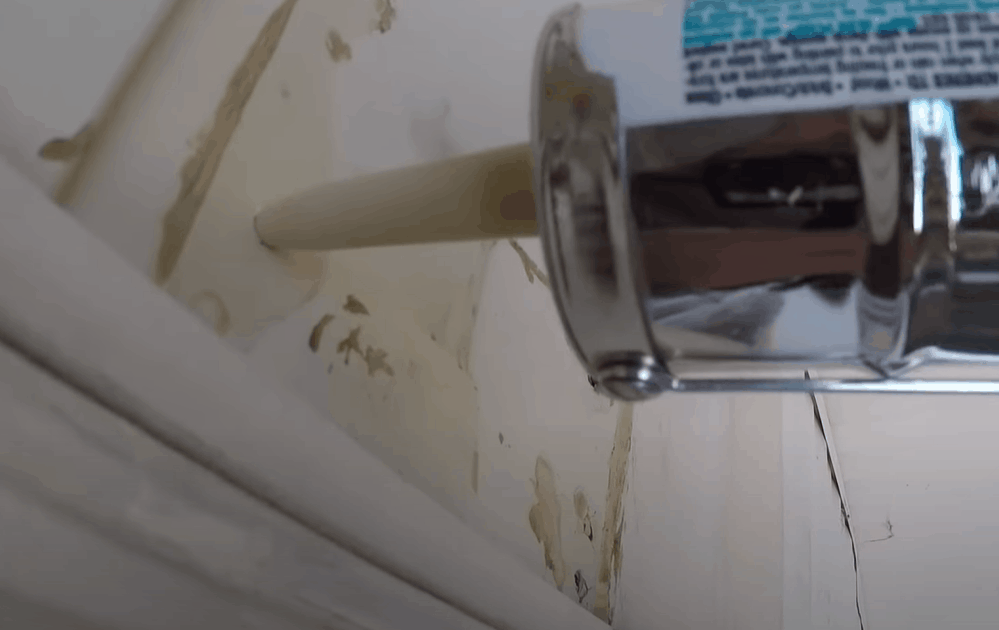
Put the caulk into the caulking gun and chop off its tip. Adjacent, insert the tip into the hole you are repairing and press the trigger to fill the damaged surface area with caulk. Hold the trigger until the caulk comes out slightly from the pigsty.
Make sure the tip of the caulking gun goes as deep as possible and fills the entire hole. Once washed, use a damp slice of textile to wipe off any excess caulk from the surface of the vinyl siding.
Step 3: Allow the Area to Dry
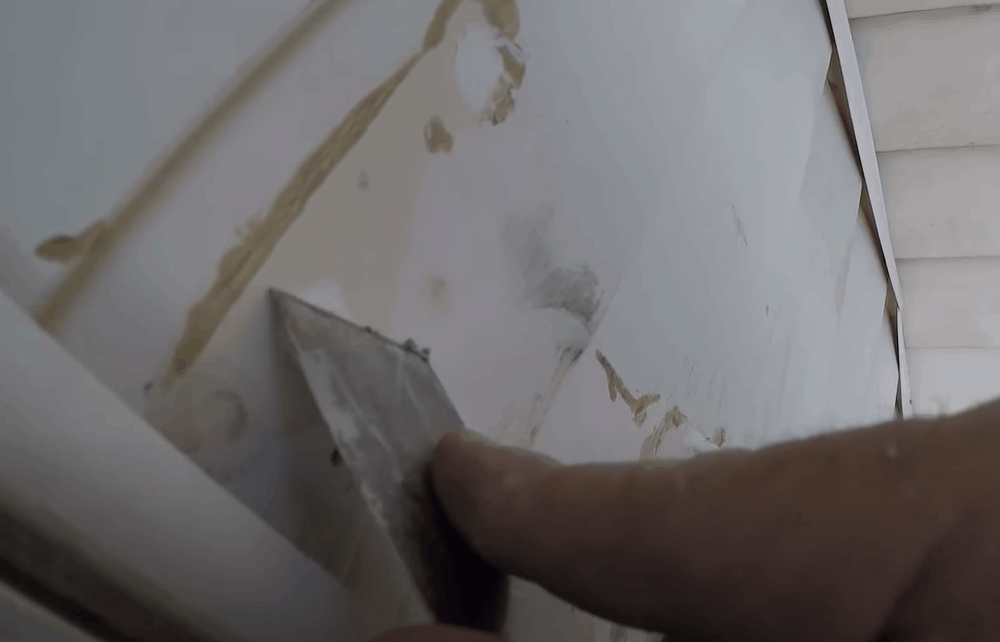
Give the spot a few days to dry. When the caulk is difficult and cured, use a utility knife or razor bract to slice away any excess caulk then the surface is smooth and level.
Step 4: Paint the Area every bit Desired (Optional)
If the colour of your caulk matches that of the vinyl siding, you actually don't need to proceed to this footstep. Only pigment the repaired surface area if the color completely stands out from the rest of the siding.
Start by cleaning the area, then use a small soft brush to cover the surface area with matching pigment. Go along in heed that a fresh glaze of paint volition sometimes stand out adjacent to an older coat. To make the difference less noticeable, consider applying pigment to the entire repaired side.
Patching a Hole or Crack in Your Vinyl Siding
The caulking could be all you need to repair holes in your vinyl siding. However, if the hole is also big, patching the expanse could be the most practical choice. Information technology may crave a trivial chip of work, but it will all be worth it in the end.
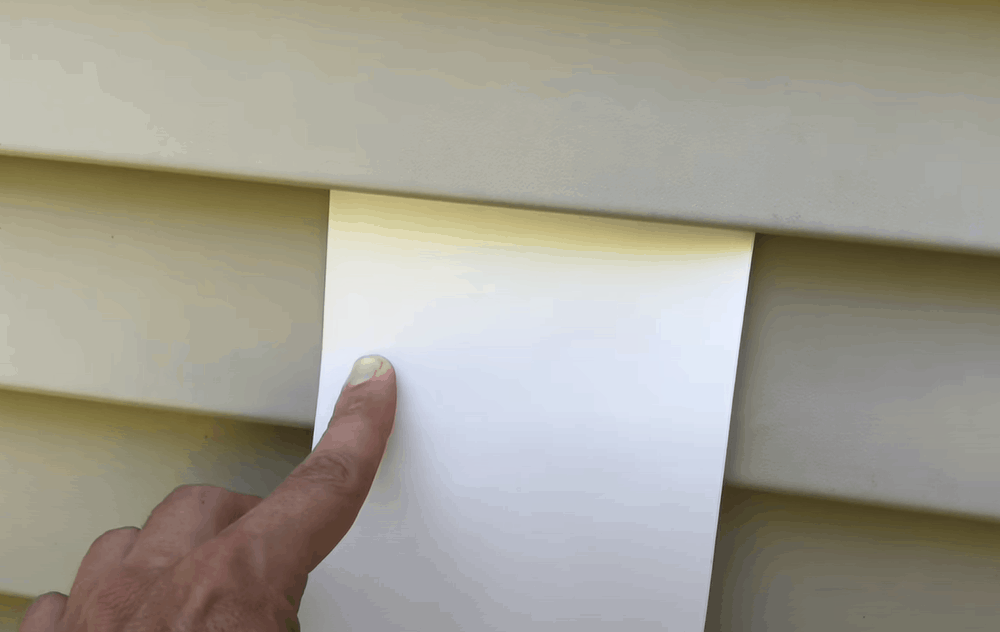
Step 1: Cut Effectually the Damaged Area
Using a utility knife, cut effectually the damaged area, making sure that the cutting extends to the bottom of the plank. For best results, leave at least 2 inches of space all around the offending expanse.
You can apply your tape measure out to become the right measurements. You lot may also consider cleaning the area first so you can conspicuously come across the extent of the damage.
After y'all take cut effectually the pigsty, use a siding removal tool to pull out the damaged part. Simply insert the tool beneath the lip of the plank and gently pull downward. If there are nails or fasters in the surface area, remove these fast so the office can come free.
Step 2: Cut Out a Replacement Patch
Concur the segment you removed in Step 1 up to a spare vinyl siding panel. Yous volition desire to make sure that the patch is wider than the segment. And then, measure about ii inches away from each edge of the segment and mark these points.
Then, grab your tin snips and cut a replacement patch along the marks. Ideally, the patch should exist the same size as the segment you removed earlier, with an additional 2 inches on either side. In other words, if the removed segment is four inches by iv inches, and so the replacement patch should be 8 inches past 8 inches. Examination the patch to see if information technology fits.
Step 3: Install the Patch
Hold the patch over the damaged area and apply a pencil to draw an outline. Then, apply vinyl caulk around the interior perimeter of the hole, approximately 1 inch from the outline.
Now, place the patch over the caulk and press it and so information technology adheres firmly; make certain the patch aligns with the outline. Strap some duct tape over the expanse to reinforce the patch and use a dry slice of fabric to wipe any excess caulk off the vinyl panel.
Leave the caulk for about 24 hours to harden. Depending on the brand, your caulk tin can dry faster or slower. Check the characterization to know how long you should wait. Once the caulk is dry out, remove the tape.
Replacing the Entire Vinyl Siding Console
Sometimes the harm on your vinyl siding tin can be beyond caulking or patching. In such a case, yous may need to supplant the whole panel. It is an easy and straightforward process that will likely not take any more than xxx minutes.
Step 1: Remove the Damaged Console
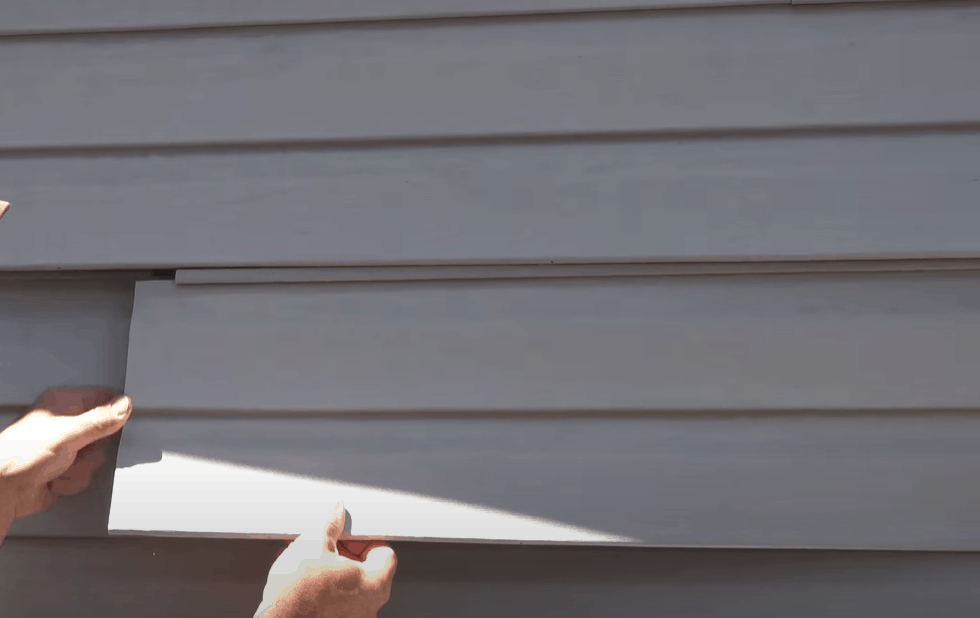
Hook the siding removal tool underneath the lip of the panel and pull downward to unhook the vinyl. You lot should start unhooking from 1 edge and motion to the opposite edge slowly by slowly.
Unhooking the console volition expose the nails or other fasteners holding it in identify. Use a pry bar or screwdriver to pull these out. Depending on how the installation was done, you lot may also demand to remove the planks above and below the faulty one to fully encounter the nails.
Step 2: Install the New Console
After you have removed the damaged console, you will exist left with an empty space, with the insulation exposed. Carefully inspect the insulation to see if there are any holes or scratches on it and caulk them earlier plumbing equipment the new plank.
Now, install the replacement panel and press it onto the panel below it to attach its lower lip. After that, fasten the new console in place using nails or other fasteners of your choice. Y'all can reuse the ones you pulled out from the damaged panel if they are still in good shape. If you removed multiple planks, put them back in place from the bottom up.
Boosted Tips for Repairing Vinyl Siding
- Avert doing whatsoever vinyl siding work during the cold season especially if the weather is below freezing, as the low temperatures can brand the vinyl weak and more than susceptible to corking.
- Use a abrupt blade to cut your vinyl siding; it volition assist you make clean cuts. Also, when cutting out the damaged section, make sure yous are doing and so carefully to avert ruining the building paper underneath.
- If you see gaps after installing the new vinyl console, caulk them up to protect your habitation confronting water leaks and insects.
The Takeaway
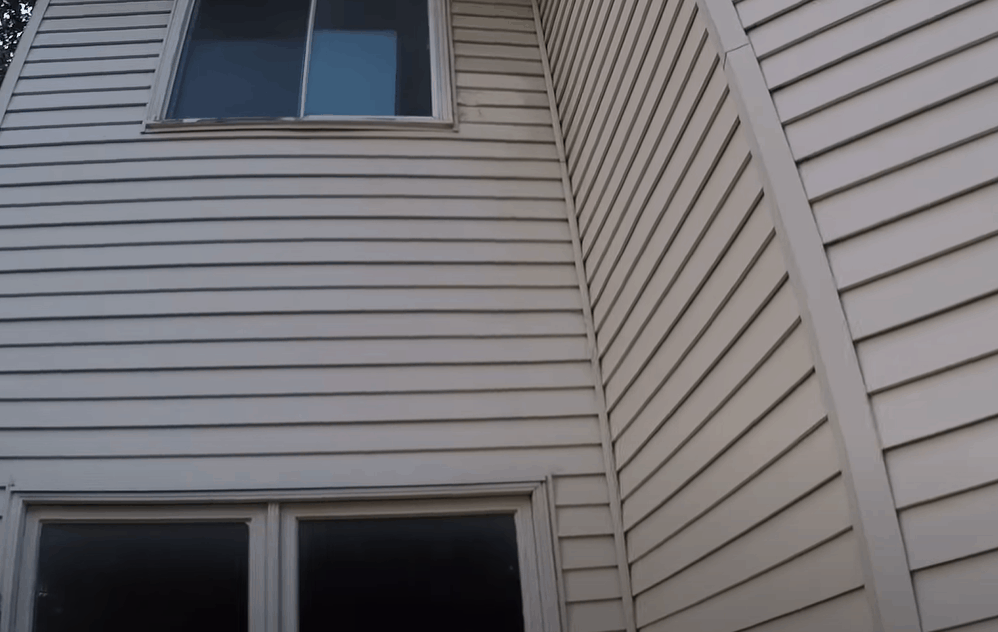
Repairing vinyl siding is an important maintenance procedure that helps go on the exterior of your abode in good shape. The above procedures can work both for pocket-sized and major holes, cracks, and scratches.
If the vinyl console looks good for the most part, it would make more sense to caulk or patch the damaged area than to supervene upon the unabridged plank. Inspect your siding regularly and repair whatever amercement quickly and you will never have to worry about mold, forest rot, and other moisture-related problems.

Source: https://www.whatisvinyl.com/how-to-fix-hole-in-vinyl-siding/
Posted by: martinezsweeng.blogspot.com
0 Response to "How To Repair Rock Hole In Vinyl Siding"
Post a Comment