

How To Repair Damaged Ceiling Tiles
DIY Repair: Ceiling Tiles
Getting Started
Damaged ceiling tiles from water, gouging or other mishaps make for an unsightly room. Our ceiling was water damaged recently. Since water stains tin pb to mold and poor indoor air quality, we wanted to repair it quickly. We volition bear witness you how to replace ceiling tiles with the PowerShot 5700 Forward Activeness Staple Gun and Nailer, Arrow T50 #508 - 1/2" Staples and the SL24D Staple Lifter. Don't forget to grab a pair of gloves and safety goggles (optional). Country, local and municipal codes regarding habitation improvements vary depending on location, and then please research before proceeding with this residential repair.
You lot Will Need
-

5700
PowerShot Forward Action Staple Gun and Nailer
Learn more Purchase NowTen Go Your Shop On
5700
PowerShot Forward Activeness Staple Gun and Nailer

-
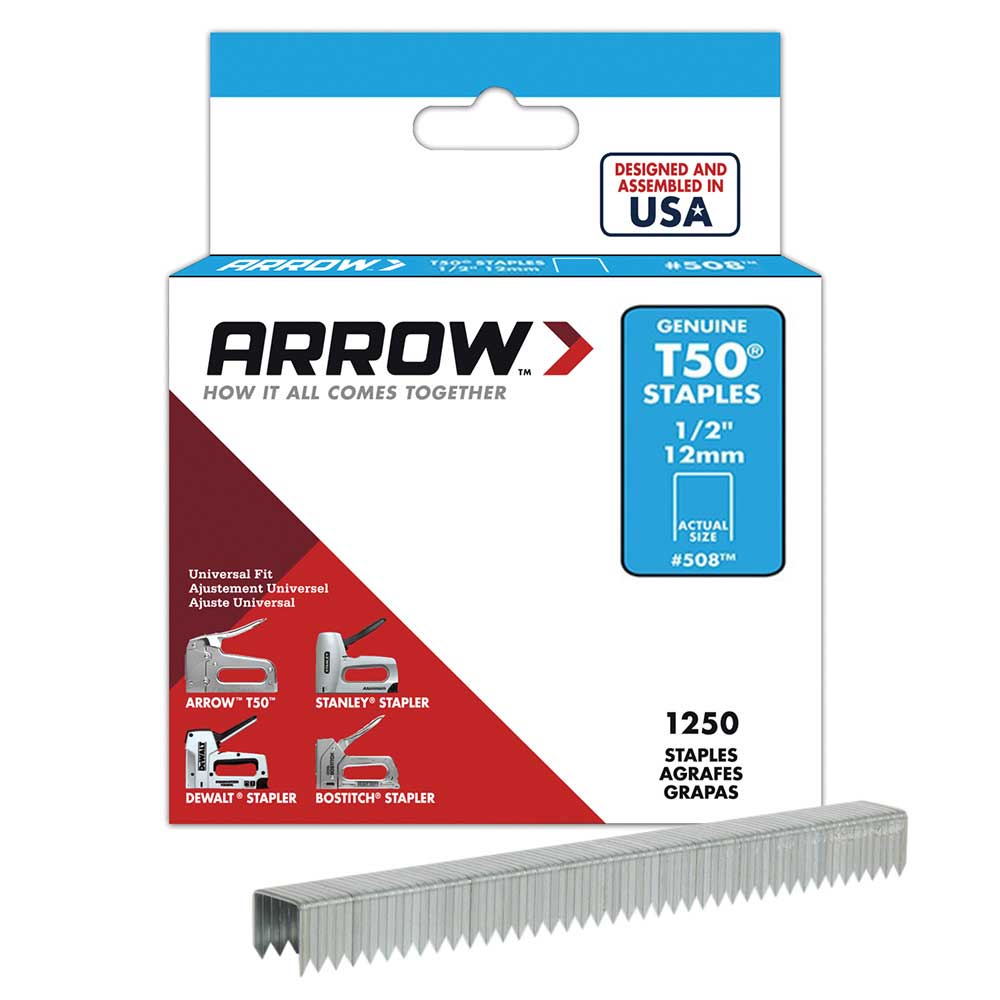
T50 Staples
508 (1/2")
Larn more than Buy Now -
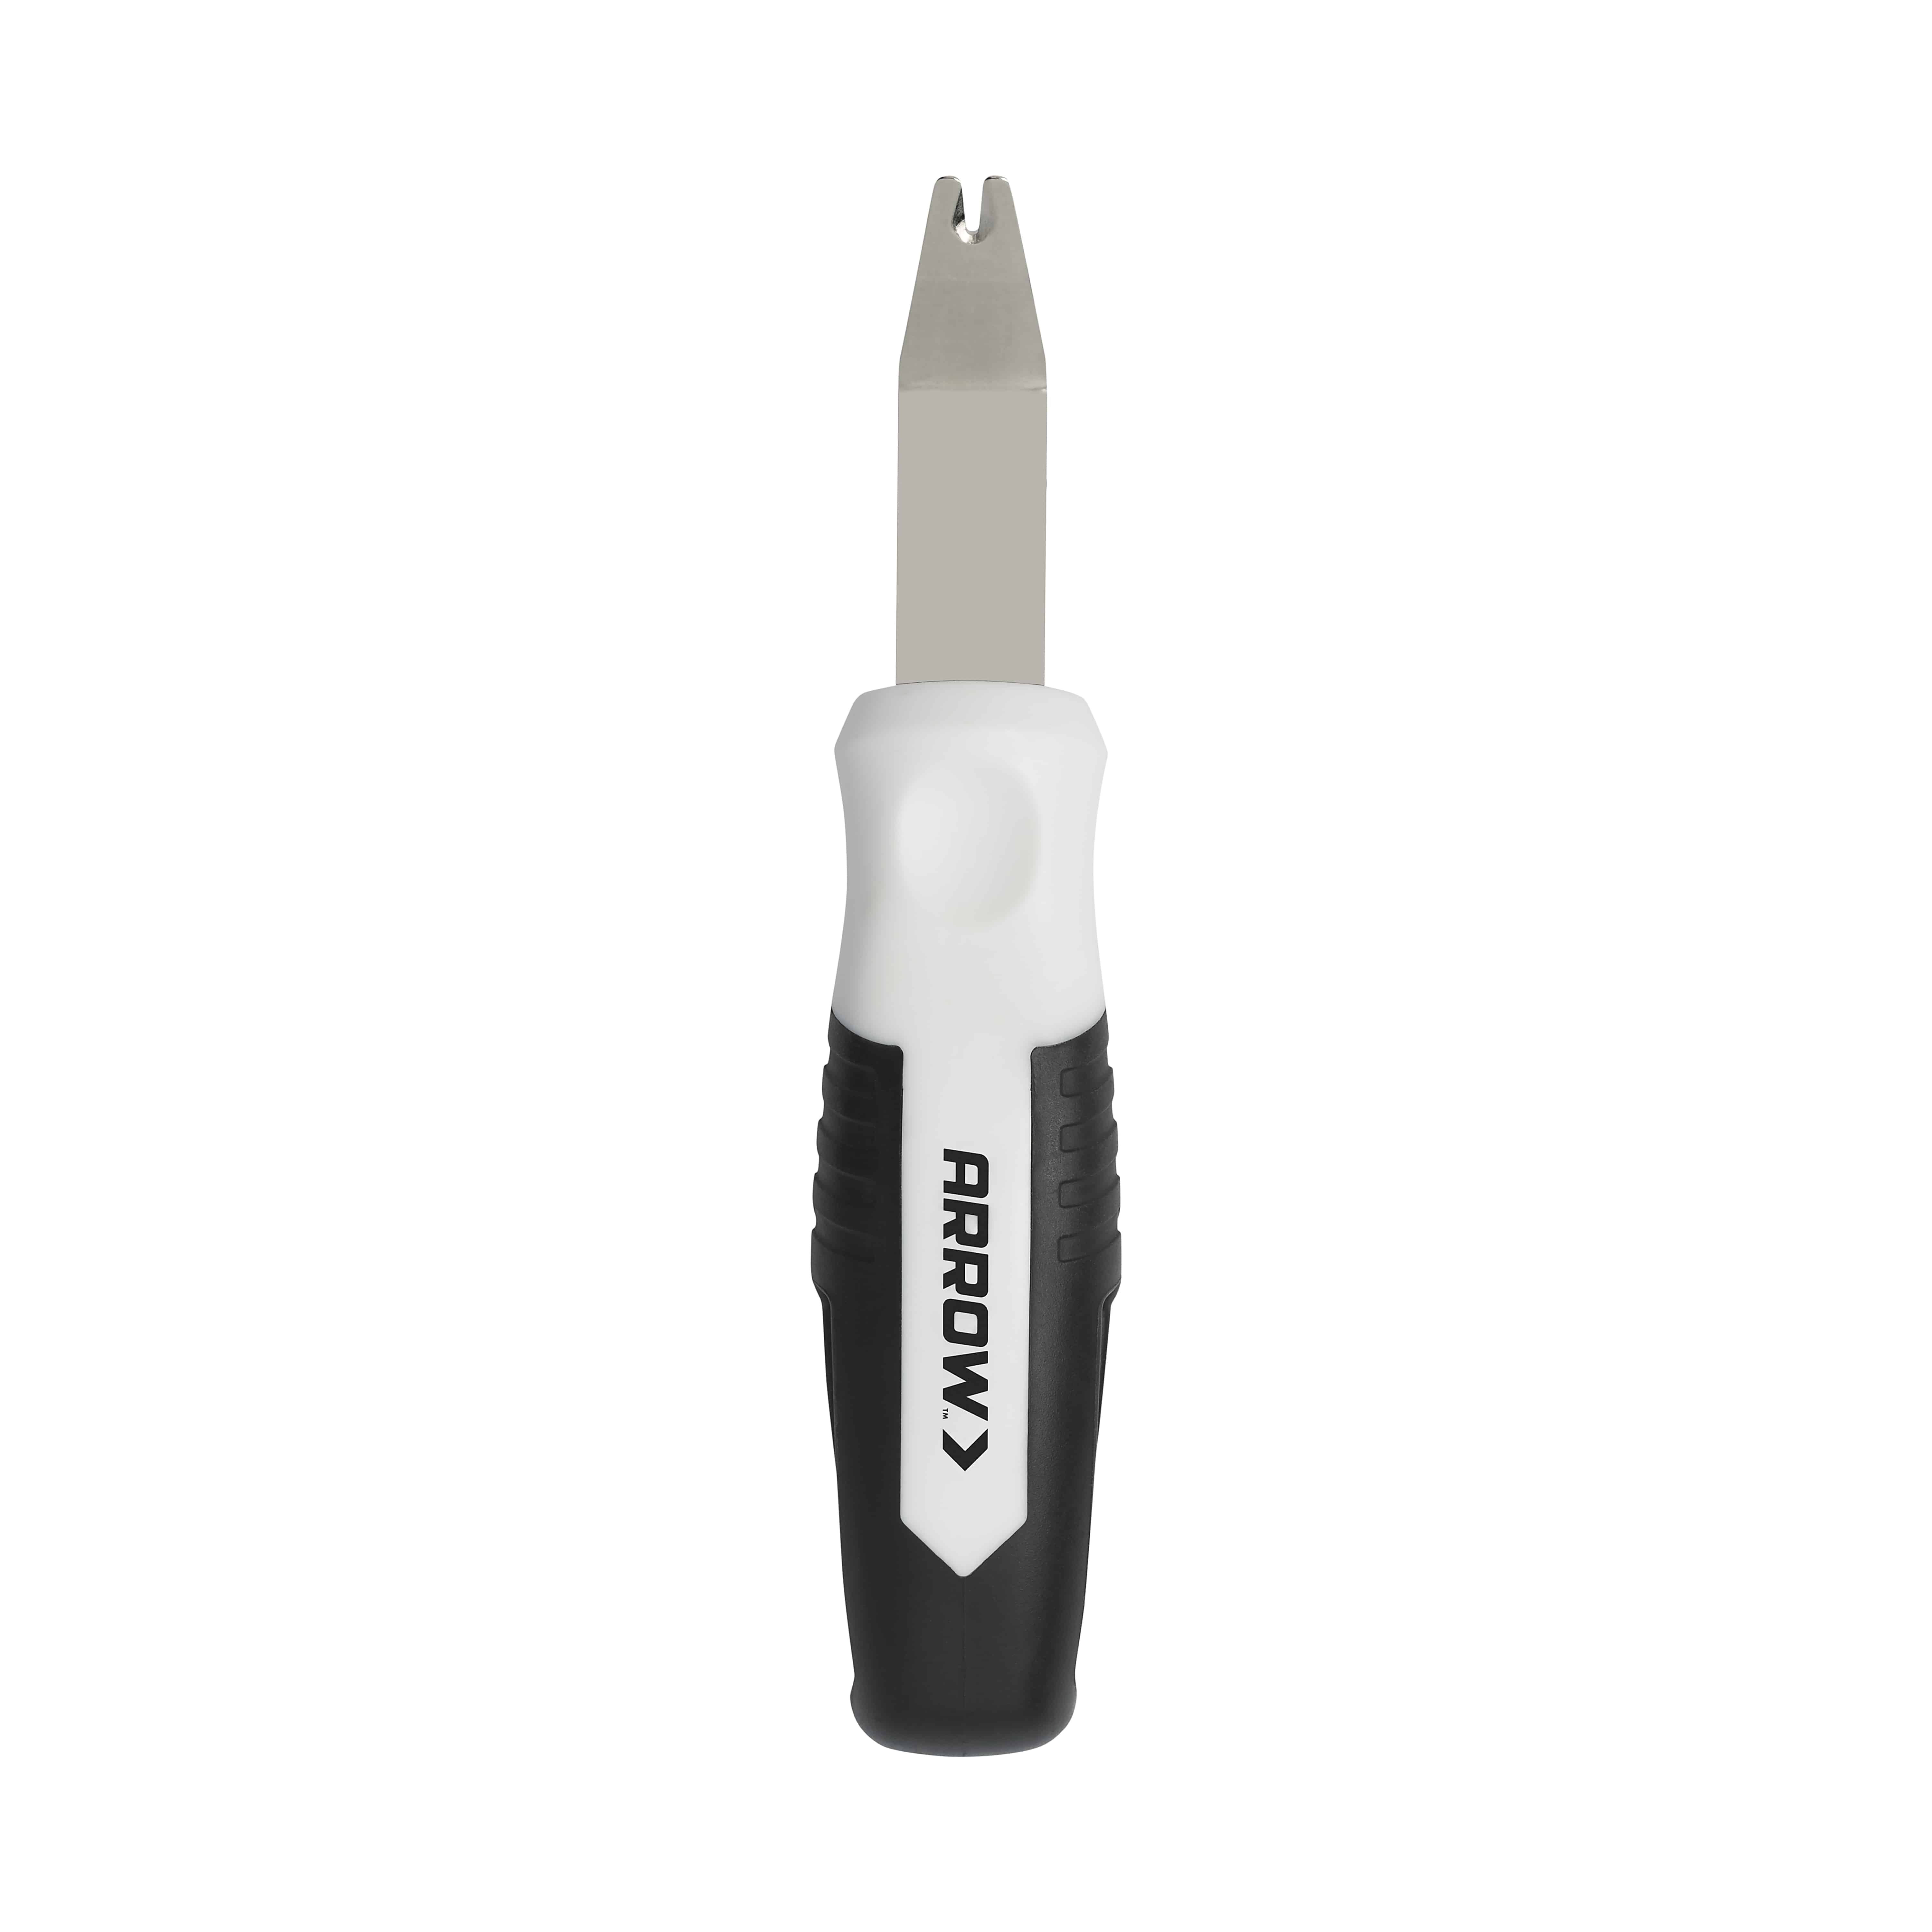
SL24D
Staple Lifter
Learn more Buy NowX Get Your Shop On
Materials Needed
Other Tools
- Tape measure
- Pencil
- Ladder
- Utility knife
- Respirator mask
- Hammer
Other Materials
- Replacement ceiling tiles
Step i
Interlocking ceiling tiles come up in many designs. Y'all will demand to detect replacement tiles with an identical or very similar design to match your existing ceiling. Our ceiling was adequately new and so we were able to order replacements from the same retailer where we purchased the original batch. If yous don't recall where yours were purchased, check your local domicile center or online retailers.
Interlocking ceiling tiles come up in many designs. You volition need to discover replacement tiles with an identical or very similar pattern to match your existing ceiling. Our ceiling was fairly new so nosotros were able to order replacements from the aforementioned retailer where we purchased the original batch. If you don't remember where yours were purchased, check your local home center or online retailers.
Step two
Assess the total damage of your tiles. You may find that some of the back sides or interlocking lips may be damaged but the damage is not visible until you start to remove the tiles.
Assess the total harm of your tiles. You may notice that some of the dorsum sides or interlocking lips may be damaged but the damage is non visible until you lot starting time to remove the tiles.
Step 3
Unlike driblet-ceiling acoustic tiles that fit into a suspended frame, virtually interlocking tiles are stapled to a wood strip framework that is laid out perpendicular to studs or joists and nailed to them. Utilize the Arrow SL24D Staple Lifter to rapidly and easily remove the staples securing the damaged tiles to the framework. You lot may need to take out some of the undamaged tiles in the surrounding area to fit the new tiles together properly.
Unlike drop-ceiling audio-visual tiles that fit into a suspended frame, near interlocking tiles are stapled to a forest strip framework that is laid out perpendicular to studs or joists and nailed to them. Use the Arrow SL24D Staple Lifter to apace and easily remove the staples securing the damaged tiles to the framework. You lot may need to take out some of the undamaged tiles in the surrounding area to fit the new tiles together properly.
Step iv
Later removing all damaged tiles, unpack your replacement ceiling tiles. Fortunately, our damaged ceiling tiles were in a corner of the basement used equally a laundry room. Nosotros only removed all tiles in that corner to install replacement tiles. The replacement tiles have two sides with an extended lip for stapling to the framework, besides as a recessed groove for the lip of the tile next to information technology (run into start photograph beneath). The other ii sides of the tile have an interlocking lip that fits into the recessed groove (see second photo below). Put the outset tile in identify on the framework and use the Arrow PowerShot 5700 Staple Gun to staple along the two sides with the extended lips. Identify a staple every iv-six inches. Remember, the PowerShot 5700 is a forward-action stapler, so the staple will come up out of the terminate directly beneath the handle.
Subsequently removing all damaged tiles, unpack your replacement ceiling tiles. Fortunately, our damaged ceiling tiles were in a corner of the basement used every bit a laundry room. We simply removed all tiles in that corner to install replacement tiles. The replacement tiles take two sides with an extended lip for stapling to the framework, besides as a recessed groove for the lip of the tile adjacent to it (encounter get-go photo below). The other two sides of the tile have an interlocking lip that fits into the recessed groove (see second photo below). Put the first tile in place on the framework and use the Arrow PowerShot 5700 Staple Gun to staple along the two sides with the extended lips. Place a staple every four-6 inches. Recollect, the PowerShot 5700 is a forward-action stapler, so the staple will come out of the end directly below the handle.
Step five
Go on stapling tiles to the framework. Button the interlocking lipped edges of the replacement tile into the grooves of i of the tiles that is already installed. And so staple the exposed lip on the other two sides of that tile. Repeat this process until all damaged tiles have been replaced.
Continue stapling tiles to the framework. Push the interlocking lipped edges of the replacement tile into the grooves of one of the tiles that is already installed. So staple the exposed lip on the other two sides of that tile. Echo this procedure until all damaged tiles take been replaced.
Step 6
Cheque your lineups frequently. Tiles can be inconsistent in sizing which can exist challenging for installation.
Check your lineups frequently. Tiles can be inconsistent in sizing which can be challenging for installation.
Step 7
If y'all're replacing tiles in the heart of the ceiling, you will not be able to interlock the edges on both sides of the tile in the concluding row. Cut the lip off one stop of the tile and use gum to adhere that edge to the framework. Make certain that y'all are removing the larger staple edge. Staples cannot be used because they would exist visible.
If you're replacing tiles in the eye of the ceiling, you will non exist able to interlock the edges on both sides of the tile in the last row. Cut the lip off one cease of the tile and apply glue to adhere that edge to the framework. Brand certain that yous are removing the larger staple border. Staples cannot be used because they would exist visible.
Step 8
Step back and adore your ceiling!
Step back and admire your ceiling!
Finished Product
We'd beloved to see how your damaged ceiling tile replacement project turned out! Share your projection pictures on Facebook, Instagram or Twitter by using #MadeWithArrow or tagging Arrow Fastener.
Arrow Fastener on Pinterest
Follow on PinterestHow do you Arrow?
#madewitharrow
[instagram-feed type=hashtag user="arrowfastener" hashtag="#madewitharrow" order="top" width=lxxx widthunit=% layout=carousel carouselrows=two cols=3 carouselloop=rewind num=thirty imagepadding=iii imagepaddingunit=%] Follow on InstagramSign upward for Some Crawly
Go Arrow tips, tricks, projects and promos in your inbox!
Hey there! Nosotros've updated our Privacy and Cookie Policies at the request of some of our friends in Europe. Click Accept to allow the states know you're okay with the updates. Thank you!
View Cookie Policy Accept
How To Repair Damaged Ceiling Tiles,
Source: https://arrowfastener.com/projects/ceiling-tiles/
Posted by: martinezsweeng.blogspot.com
0 Response to "How To Repair Damaged Ceiling Tiles"
Post a Comment